Easy Peace Lily Propagation Through Separation

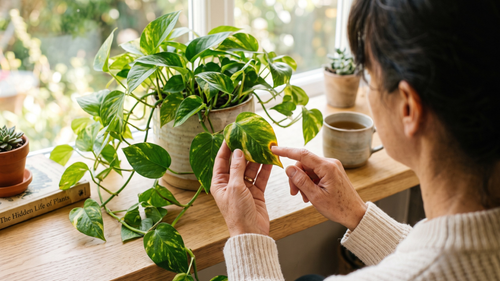
Peace lilies are a popular houseplant because they’re quite easy to care for. They tolerate low light conditions, so they’re ideal as indoor plants. Also, they conveniently let their owners know when they’re thirsty by drooping, though they perk right back up when they get a drink. Peace lily propagation is also fairly simple, so you can expand your peace lily collection or give plants away as gifts without a lot of work!
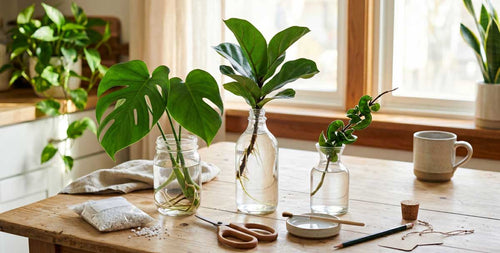
There are several ways to propagate plants, such as using cuttings, air layering (for trees or plants with sturdy stems), and separation. In the case of peace lilies, separation is the way to go. This method is very simple and also can also help you manage your peace lily’s size.
If your peace lily is starting to outgrow its pot, it might be time to separate and propagate!

Many plants, peace lilies included, propagate themselves by expanding their root structures and putting out smaller plants, called offshoots, pups, or suckers. These suckers naturally grow from rhizomes, which are underground, stemlike structures from which the roots emerge. (For a better idea of what these look like, think of ginger root, which is actually a plant rhizome.) Some plants grow very thick rhizomes while others grow thinner ones.
Peace lilies in particular are quite prolific when it comes to putting out suckers! This can cause them to outgrow their pots fairly quickly, so it’s important to remove these suckers before the root system becomes too crowded in the pot.
So how do you successfully separate these suckers to create new peace lily plants? It’s actually really easy!

Tip the pot on its side and gently ease your peace lily out. Do NOT yank the plant straight out or you might break off leaves, stems, and roots. You want the whole thing to come out in one intact chunk.

Gently massage the root ball to remove most of the soil so you can see how the suckers and rhizomes all connect. You should notice most of the roots and rhizomes spreading from a certain area of the plant. This area is the mother plant, and the plants growing out from the rhizomes are the suckers.

Once you’ve located the suckers, use a sharp, clean knife or pruning shears to cut them away from the mother plant. Set the separated plants aside.

Once you’ve separated your peace lily into smaller plants, you can now plant the offshoots in soil. Make sure each plant has enough room to put out new roots. You can even plant a few suckers in the same pot if you’d like!
Fill a clean pot with a few inches of loamy, well-draining soil, and place your peace lily plant (or plants) upright. Note: Make sure your pot has drainage holes.
Then fill in the sides with more soil, leaving a few inches at the top. Water your plants thoroughly after repotting, and add more soil to the top if necessary.
If you have trouble keeping your cuttings upright in their container or medium, you should try these easy-to-use node holders! This handy propagation tool is a simple way to keep root cuttings healthy and in place while they take root, which gives those roots more room to grow without the added pressure of supporting the plant’s weight. This plant node support also helps your cuttings root faster!
Place in an area with indirect sunlight or partial shade. Avoid fertilizing for about a month after separating, because the roots will be especially sensitive and prone to chemical burn. After a month or so, start fertilizing your peace lilies with Indoor Plant Food to encourage new growth!
Read our complete guide to peace lily care here.
That’s it! Keep all your peace lilies for yourself or give them away as gifts to your planty friends.
This method of separation works for any plant that puts out offshoots, so try it on your other aroids, succulents, etc. Happy propagating!


We are an Amazon Certified Small Business! Small businesses are the backbone of the US economy; they create jobs and drive innovation. We appreciate YOU helping small businesses on Amazon!