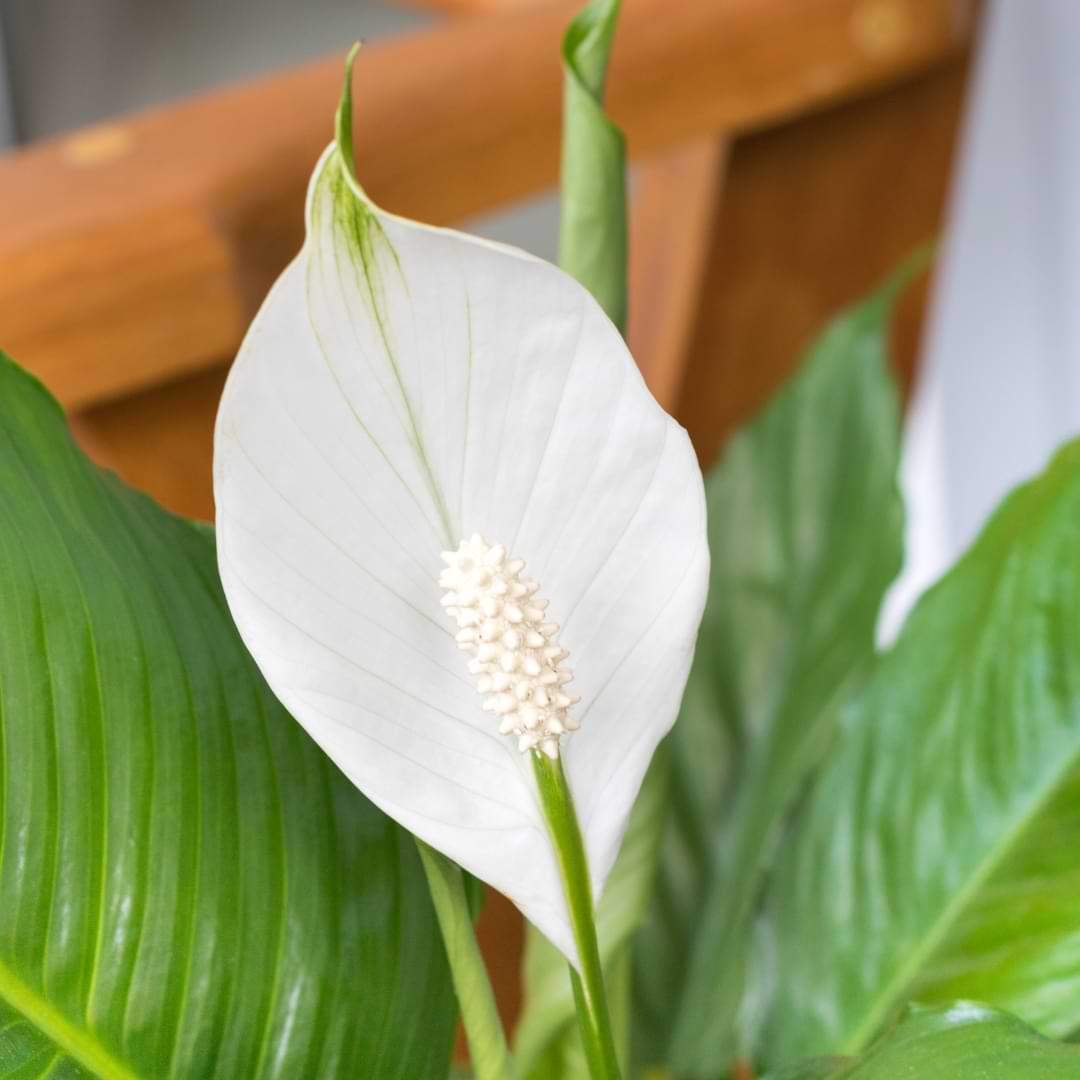
Have you ever bought a beautiful peace lily only to have it die a few weeks later? If so, you’re not alone. Many people struggle to keep peace lilies alive, but the good news is that it’s usually not the plant’s fault. More often than not, the issue is that the plant has been repotted incorrectly and is suffering from transplant shock. With a few simple tips, you can keep your peace lily healthy and thriving for years to come.
Table of Contents
How To Repot Peace Lilies
It is important to repot your peace lily every 1-2 years to ensure optimal growth and health. When you do repot it, take care not to cause transplant shock, which can damage or even kill your plant. Keep reading for our best tips on how to prevent transplant shock when you repot your peace lily.
Signs Your Peace Lily Needs Repotting
If your peace lily is wilting, despite being well-watered, it may be time to repot. Here are a few other signs that your peace lily needs a new pot:
- The leaves are yellowing or drooping
- The roots are coming out of the drainage holes in the bottom of the pot
- The plant is growing taller but not producing new leaves
If you see any of these signs, it’s time to repot your peace lily. But don’t worry–repotting is easy, and with a little care, you can avoid transplant shock.
Best Time to Repot
The best time to repot a peace lily is in the spring, after the plant has finished blooming. Repotting in the spring gives the plant a chance to recover from the stress of blooming and prepare for new growth.
It’s important to note, if your peace lily is suffering, repot it no matter what time of year it is. With some issues, the plant may not survive until the spring for you to repot it at the optimal time. Take inventory of how your plant is doing and make an informed decision on whether to repot now or wait until spring.
Reducing The Risk of Transplant Shock
One of the most common causes of transplant shock is improper watering after being transplanted. Over-watering can lead to waterlogged soil, which can cause the roots to rot. Under-watering can cause the plant to wilt and the leaves to drop.
To avoid over- or under-watering, it’s important to check the soil before watering. The best way to do this is to stick your finger into the soil up to the first knuckle. If the soil is dry, it’s time to water. If the soil is wet, wait a few days before checking again.
It’s also important to make sure that your plant has enough drainage. If the pot doesn’t have drainage holes, water will pool at the bottom and cause the roots to rot. To add drainage holes, simply use a drill or a sharp knife to make several holes in the bottom of the pot, ideally before placing your plant in the pot to avoid severely damaging the roots.
Finally, be sure to choose a pot that is only slightly larger than the current one. A pot that is too large will hold too much water and could also lead to root rot. A pot that is too small will not give the plant enough room to grow and could stunt its growth.
Equipment and Tool Requirements
When it comes time to repot your peace lily, there are a few things you will need in order to do so without causing transplant shock. Let’s go over everything you may need to make the repotting process go smoothly to minimize the chances of sending your beautiful orchid into transplant shock.
Pots or Containers
Choose a pot or container that is only 1-2 inches larger in diameter than the current pot. If the pot is too large, the roots will have too much room to grow and the plant will become rootbound. Make sure the pot you choose has drainage holes to allow excess water to drain out.
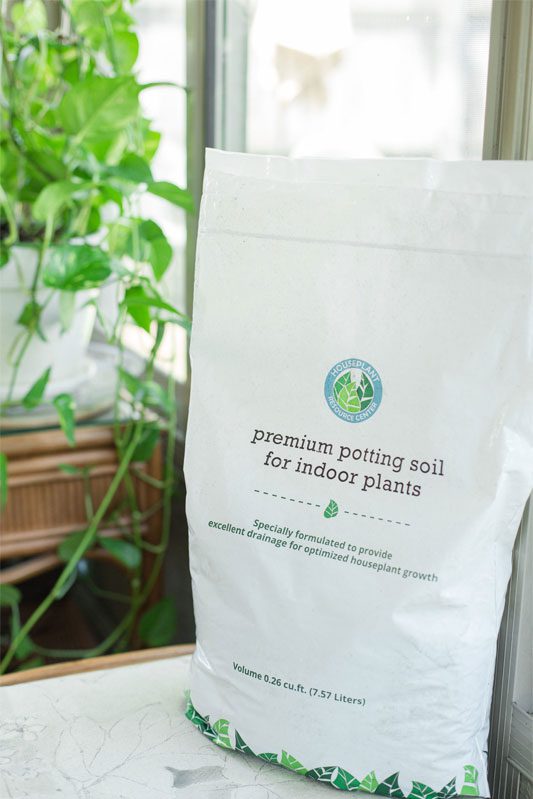
Potting Mix
Potting mix is an important factor in successfully repotting a peace lily. A good quality potting mix should be loose and well-draining, yet hold enough moisture to keep the roots of the plant healthy. If you are using a potting mix that is too dense, it can cause the roots to rot. Conversely, if the potting mix is too light, it can dry out quickly and stress the plant.
When choosing a potting mix for your peace lily, look for one that contains peat moss or coco coir. These ingredients help to retain moisture while still providing good drainage. You can also add perlite or vermiculite to the potting mix to improve drainage.
Another option is to create your own potting mix using equal parts peat moss, perlite and texture material such as cactus blend or orchid mix will do the trick perfectly and allow your peace lily to thrive.
Scissors or Knife
High-quality pruning shears are a must for every house plant enthusiast, so invest in a good pair that will last you awhile. You will need these when repotting your peace lily to remove any dead material from the plant, as well as to prune any rotted roots.
Repotting Peace Lilies – A Step by Step Guide
Once you have gathered all of your supplies, you are ready to begin repotting your peace lily. Follow these simple steps, and your peace lily will be living in its new pot in no time!
- The very first step is to prepare your new pot for your peace lily. Add a layer of soil to the bottom of the pot, only about an inch deep.
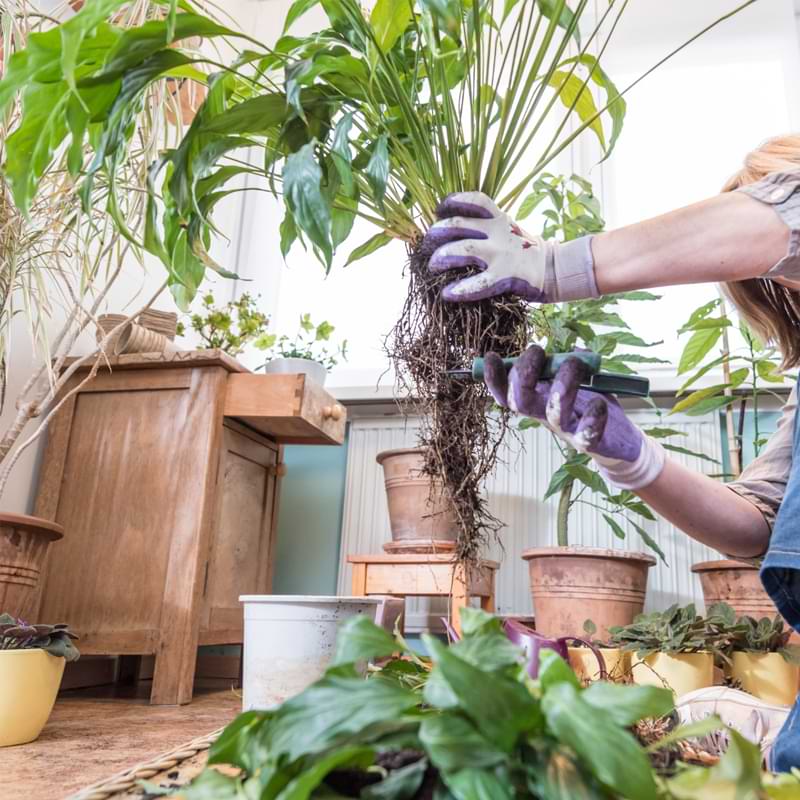
- Remove the plant from its current pot.
- Gently loosen the root ball and examine the roots. If they are circling the root ball or appear to be crowded, use your knife or shears to carefully make 1-2 inch cuts through the outermost layer of roots. This will help encourage new growth and prevent future transplant shock. Now is the time to really look at the roots of your plant, so don’t be afraid to get out a flashlight and look closely.
- Cut off any mushy or brown roots, as those are rotten and aren’t able to give anything else to your plant.
- Rinse the roots thoroughly with room-temperature water.
- Place the plant in its new pot and fill it around with potting soil. Be sure not to cramp the roots. Let a little soil between each root, and lower the plant while adding soil, gently tamping it down as you go. Make sure the plant is firmly in place.
- Water it well and place it in a shady spot out of direct sunlight until it adjusts to its new home. The perfect spot is somewhere in your home that receives a couple of hours of indirect sunlight. After about a week, move the plant back where it was if it seems to adjust well.
With a little care and attention, your peace lily will thrive in its new pot for years to come, and will reward you with plenty of beautiful flowers.
Repotting Large Peace Lilies
Large peace lilies can be cumbersome to repot, but don’t worry, it can still be done! You may need a few extra supplies, and maybe even a helping hand to ensure your plant doesn’t accidentally get hurt in the process.
When a peace lily has gotten so large that it’s difficult to handle it should you take it out of the pot, it’s important to take more precautions with it than with a smaller sized one. Set up your work area with a plastic sheet to contain any mess. You may need some tools to help loosen the soil and roots from the pot.
Once you have your peace lily out of the original pot, place the root ball on the plastic so you can better inspect the plant and the roots without having to hold it up. Start gently removing the soil from the roots so you can inspect them. Remove any dead-looking or rotted roots with your pruning shears.
From here, the process is the same as the step-by-step guide above. Just be extra careful with the larger plant, as it can be more difficult to maneuver into its new pot.
Caring for a Repotted Peace Lily
To prevent transplant shock, you will want to keep a close eye on your peace lily for a week or two after it has been repotted. Plants generally do just fine after being repotted, but sometimes peace lilies can be sensitive to environmental changes.
Watering Requirements
Right after repotting your peace lily, you need to water it. It will be stressed, so you want to make sure it has plenty of water to get through the stress of being repotted. From there, you simply water it like normal, whenever the top 2” of soil feels dry.
During the winter months, reduce watering to once per week. Over-watering is the leading cause of death for peace lilies, so make sure that the pot has drainage holes and that you empty any saucers after watering.
To ensure your peace lily has the optimal amount of water, and to avoid over-watering, it’s recommended to use a moisture meter before and after watering.
Position
Where you place your peace lily after being repotted is important, as well. You’ll want to give it a temporary home that has just slightly less indirect sunlight than its normal home. During the adjustment period, the plant will be happier in a lower-light area. After a few days to a week, you can move your peace lily back to its original home.
Although the peace lily is a plant that can survive in super low light conditions, it will thrive in an area where it gets a few hours of indirect sunlight every day. Be sure not to place your peace lily in direct sunlight, as that will quickly burn your plant and it may not recover from it.
Temperature and Humidity
As long as there are no drastic changes to the temperature and humidity where your peace lily lived before repotting, it will be just fine after repotting. Ideally, you should keep the temperature between 70 and 85 degrees Fahrenheit, and humidity levels around 75%.
The best way to raise humidity levels near your peace lily is by using a humidifier. They’re easy to use, and most houseplants will thrive when they have a small humidifier near them. You can also use a humidity tray, or simply spray your plants with a gentle mist a couple times every day.
Fertilizing Requirements
One of the most important things to remember when repotting a peace lily is not to fertilize it for at least six weeks. This will give the plant time to recover from the stress of being transplanted and establish itself in its new home.
After six weeks, you can resume fertilizing using a half-strength fertilizer solution every two weeks. Peace lilies are heavy feeders, so make sure to use a fertilizer that is high in phosphorus.
You can also opt to use our Indoor Plant Food instead of a fertilizer, and then you don’t have to worry about burning your plant’s roots with a full-strength fertilizer.
FAQ How to Repot A Peace Lily
How do I repot a peace lily with root rot?
If your peace lily has root rot, the first step is to remove it from its current pot. Cut away any roots that are black or mushy, and then rinse the remaining roots in clean water. Next, choose a new pot that is only slightly larger than the old one, and fill it with fresh potting soil. Gently transfer your peace lily to the new pot, and water it well. From there, follow the care guide provided above, and your plant will be on its way to recovering.
Should I repot a small peace lily?
If you have a small peace lily that is rootbound, it is probably time to repot it. Repotting will give the plant more room to grow and allow the roots to get the oxygen they need. It is best to repot in the spring or early summer when the plant is actively growing. There’s no reason not to repot a small peace lily, just be sure not to place your smaller plant in a pot that is too large for it. Only go up 1-2” in diameter each time you repot your peace lily to ensure it can adjust well and to prevent watering problems in the future.
More Houseplant Resources
Have more questions about your soil and other houseplant issues? For additional help and support, join our online community and more!
The Last Houseplant Book You Will Ever Need