Watering houseplants is one of the simplest and yet most complicated parts of indoor plant care. Many plant owners find that bottom watering eliminates a lot of the issues you can run into with watering plants, so if you’re struggling to give your plants the right amount of water, give this method a try and learn how to bottom water your houseplants.
Table of Contents
What is bottom watering?
While most plant owners water from the top by adding water to the top of the soil or putting plants in the shower, bottom watering involves putting a plant, pot and all, into a container of water so it can absorb moisture from the bottom of the pot.
Why should you bottom water your houseplants?
Goodbye overwatering!
One of the biggest advantages of bottom watering is that it reduces the risk of overwatering (and root rot) because the soil will only absorb so much. You aren’t just pouring a bunch of water on top and hoping it drains correctly. So if you tend to overwater your plants, this might be a good technique for you!
Healthy for roots
This technique can be advantageous because it encourages the roots to grow downward toward the water. Bottom watering can also hydrate the lower roots, which don’t always get enough water when you water from the top, especially if you don’t water enough, if the soil is compacted, or if the plant is root-wrapped.
(By the way, if your plant IS root-wrapped, it’s time to repot! But if you aren’t able to repot right away for whatever reason, you may want to bottom water until you can repot.)
Protects the leaves
Sometimes it’s hard to top water without getting water on the leaves! While some plants like showers, for the most part it’s best not to get the leaves wet when top watering because this can cause issues like fungal spread and hard-water deposits on the leaves.
When you water from the bottom, this won’t be an issue!

How to Bottom Water Your Houseplants
Ready to give bottom watering a try? Here’s how you do it!
First, your pot has drainage holes, right? Good. Just checking.
Next, make sure your plant is ready to be watered. This varies from plant to plant, so make sure to research this ahead of time! (Rule of thumb: For drought-resistant plants like succulents and dracaenas, the soil should be mostly dry. For most leafy plants like aroids, bromeliads, ficuses, etc., water when the top 2-3 inches of soil are dry. For ferns, water when the top inch is dry.)
Then, fill a container about halfway full of room-temperature water. If you’re able, consider leaving this out overnight so chlorine and other chemicals present in tap water can evaporate.
Tip: You can also add a little Indoor Plant Food to your water to give your plant a boost of nutrients!
When it’s time to water, place your plant, pot and all, in the container of water. Make sure that the surface of the water never reaches the top of the pot. You don’t want to flood your plant!
Let the plant hang out in the water for about 10 minutes before checking on it. When it’s done, the soil should be damp just below the surface and a moisture meter should read moist (7 or 8).
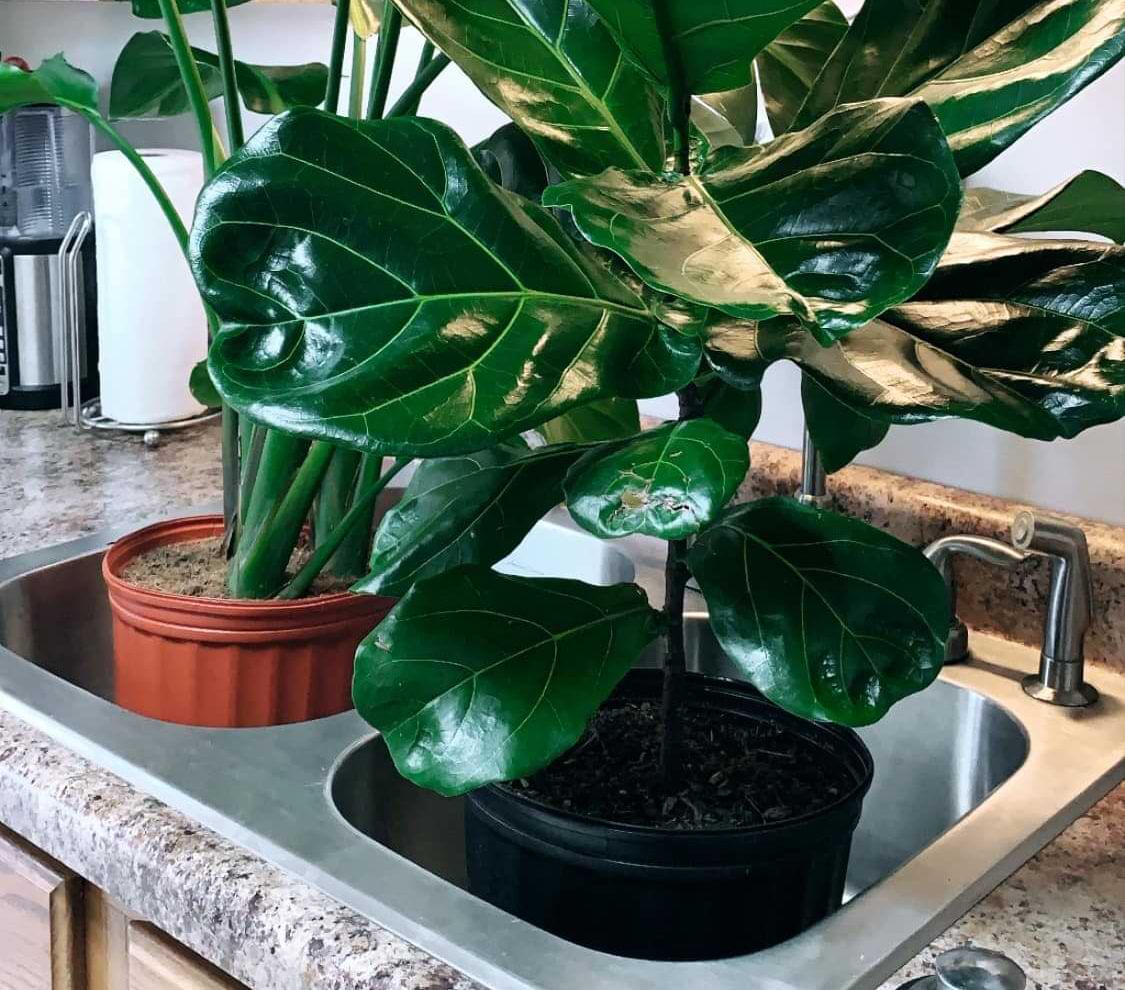
Once your plant has had its fill, remove it from the container and let it drain in the sink for an hour or so.
That’s it!
As always, when trying a new care technique, make sure to monitor your plant closely to make sure it’s happy with its new care routine.
It’s also a good idea to top water about once a month to flush any excess salts and minerals from the soil, and to make sure the upper roots get a nice drench every once in a while.
See, it’s simple!
Read our other basic care guides to become an even better houseplant parent!
How to Water Your Indoor Plants
The Perfect Indoor Plant Fertilizer
Houseplant Basics: How to Determine How Much Light You Have


