Table of Contents
How to repot your houseplants…
You’ve probably heard about repotting plants, but you might have questions about how and why. (Which is understandable!)
Your plants can’t spend their entire life in the same pot and same soil, so repotting is important for keeping plants healthy and giving them room to grow!
But why?
Here are a few reasons why plants need to be repotted:
- The soil breaks down over time and becomes less nutrient-dense.
- Over time, soil compresses and doesn’t absorb water as well, which can lead to dehydration!
- Plants may become root-wrapped and need a bigger pot so it can spread out. It’s kind of like a how hermit crab moves into a bigger shell so it can grow!
Make sure to check out our post on why houseplants need to be repotted to learn even more.
Now that you know a little about the why, let’s move onto the HOW.
How to Repot Your Plants
Plan on repotting most plants every six to twelve months, because potting soil doesn’t last much longer than that.
Early spring is the best time to repot because that’s when a lot of plants start gearing up for a growth spurt. If your plants don’t make it that long and you notice roots sticking out where they shouldn’t or that the soil isn’t absorbing water, it’s time to repot!
Step One: Select your pot
Select a slightly larger, clean pot for your plant’s new home. Pick a pot that’s at least an inch wider and deeper than the old one. When in doubt, go bigger.
Note: If you want to keep your plant the same size so it doesn’t take over your house, you can trim it down, but you’ll still want to repot regularly so it gets new soil.
Step Two: Prep your pot and plant
Grab your plant’s favorite potting mix and add some to the bottom of the pot.
Before moving it, give your plant a good watering and let the soil absorb the water. (You can even do this the day before.)
Step Three: Remove the plant and trim the roots
Then, invert the pot and gently use gravity to pull the plant and root ball out. NEVER yank your plant out from the top! That can break the stems and damage the roots
You might need to give it a gentle wiggle or use a trowel or knife to coax the plant from its old pot.
You might be shocked how large and wound up the root ball is, especially if you haven’t repotted in a while! You might need to do some pruning. Trim any long, scraggly pieces or any that look rotten or moldy. If the soil in the root ball looks moldy, remove what you can without being too rough on the roots. If the root ball is very tightly wrapped, gently untangle what you can without breaking the roots.
If you’re potting in the same pot, use scissors to trim up to a quarter of the roots so it can thrive in the same space.
Step Four: Put the plant in its new pot
Once you’ve trimmed away the old roots, carefully place the plant in its new pot. Make sure it’s centered and fill in the gaps with potting soil, taking care to cover the roots and pat the soil down. You want the plant to be stable, but don’t pack it so tight that the roots can’t breathe.
Leave about an inch of space between the top of the pot and the surface of the soil. That will help with watering so the pot doesn’t overflow before the soil can absorb the water.
Then, water again. If the soil settles too much, top it off.
Tip: Make sure to clean the old pot thoroughly before potting a new plant to avoid contamination. Your new plant might have completely different needs, and you don’t want fungus or other nasty stuff hanging out in your pot.
Aftercare:
Your plant might need a little more watering than usual after repotting. Also, avoid using fertilizer for a few weeks because the roots are more sensitive than normal, and you don’t want to risk chemical burns.
That’s it! If you do this regularly, you’ll get the hang of it in no time.
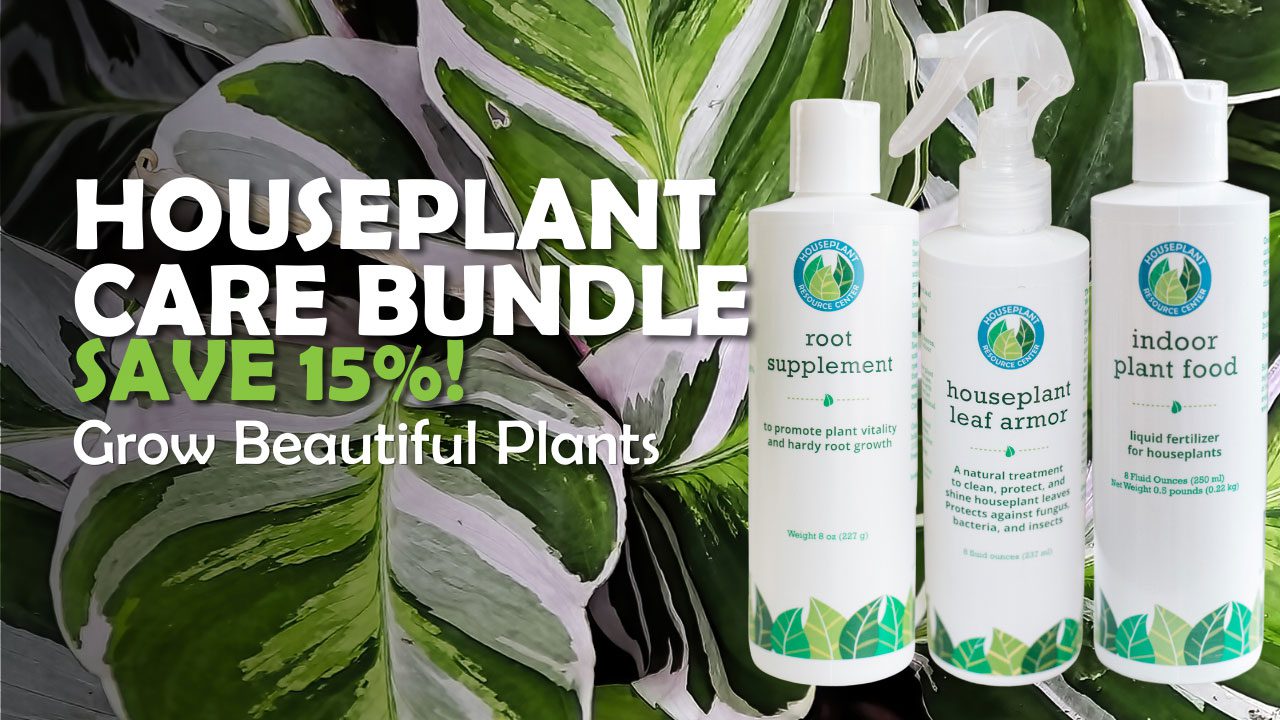
When your plants have settled into their new pots after a few weeks, you can resume your normal watering and fertilizing schedule, using your favorite fertilizer or our Indoor Plant Food!


