Table of Contents
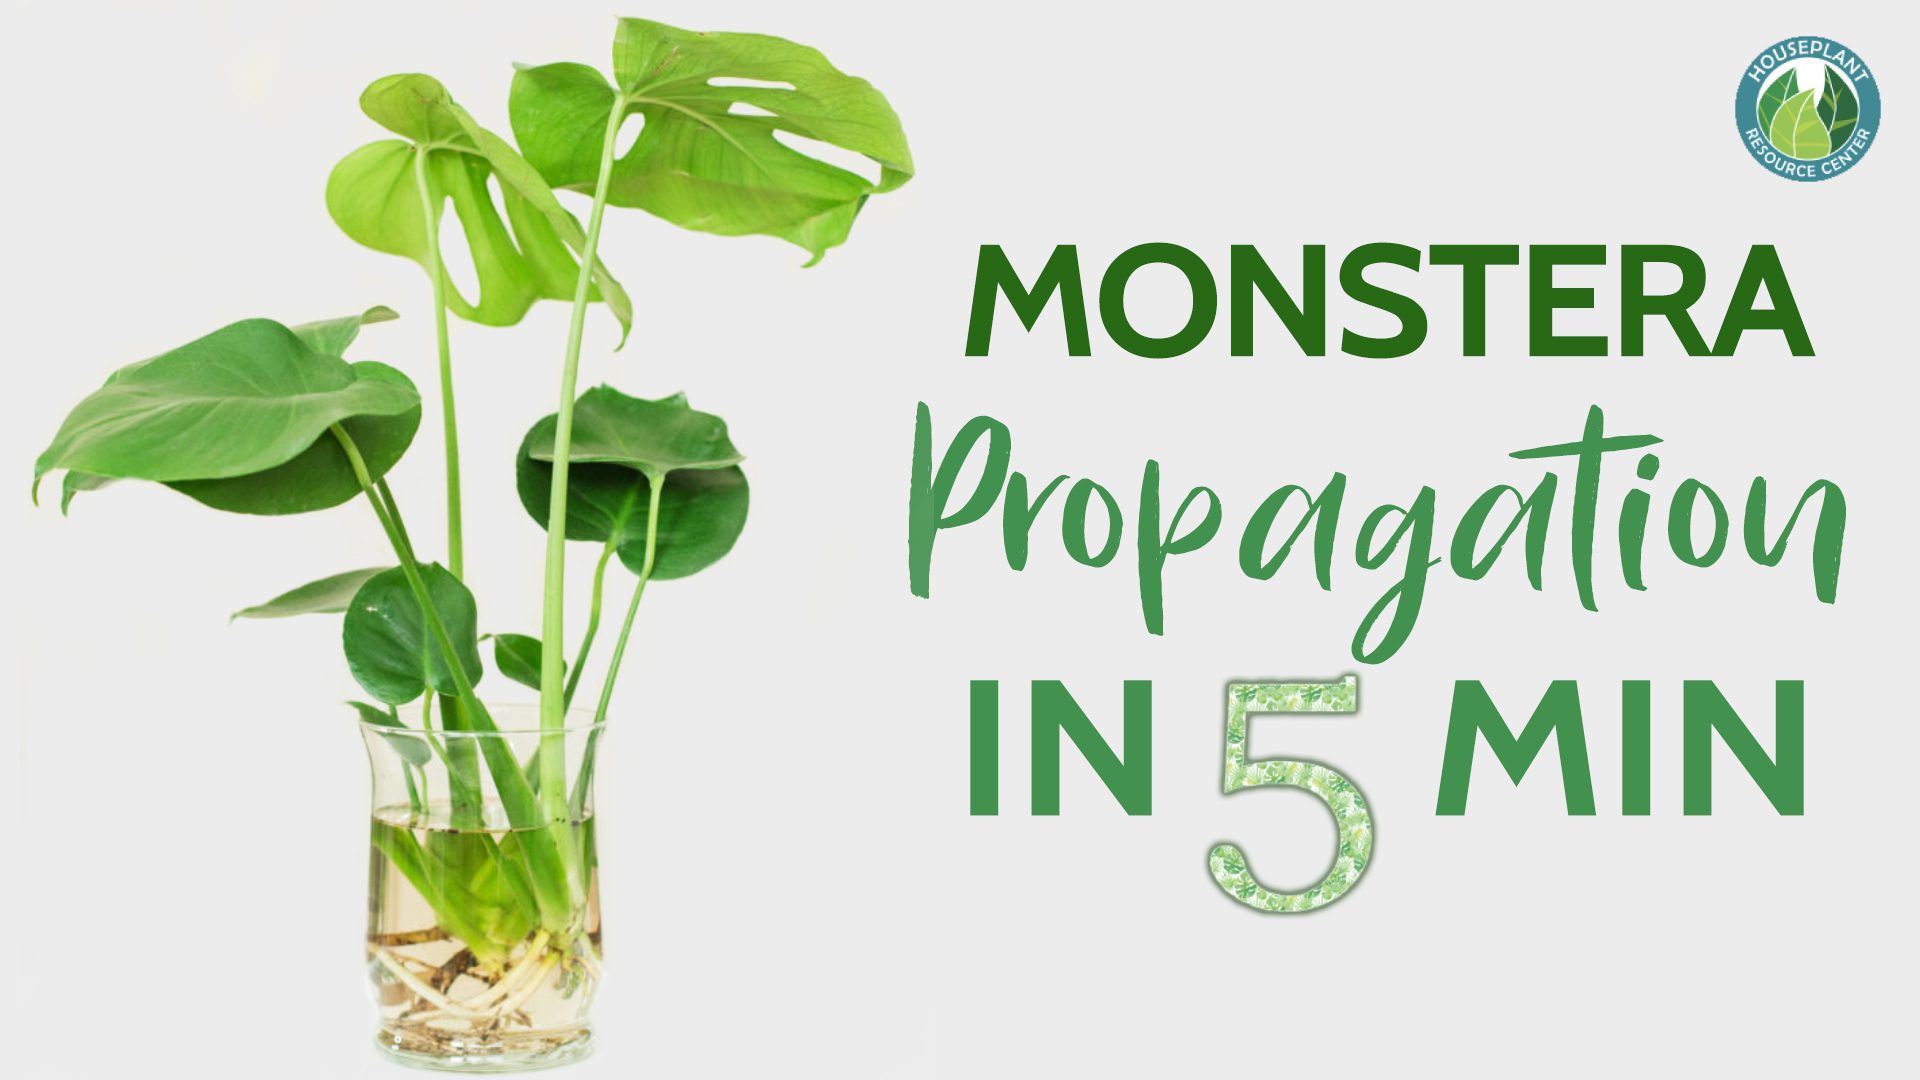
Monstera Propagation in 5 Minutes
What is better than one monstera plant? Two or more monstera plants, of course! Monstera propagation does not have to be complicated. Learn more about when to propagate your monstera, the tools you need, and the steps to be successful.
Benefits of Propagation
Propagated plants often do better than the original plant. The reasons for this are:
- Better Soil
- New Growth
- Better Care
- More Love
When you decide to propagate your monstera plant, you are taking care of the cutting from the very beginning. You are nurturing it as the roots grow in the container. The care and attention it gets ensures the propagation process will be successful at growing a healthy monstera plant.
Monstera Propagation Tools
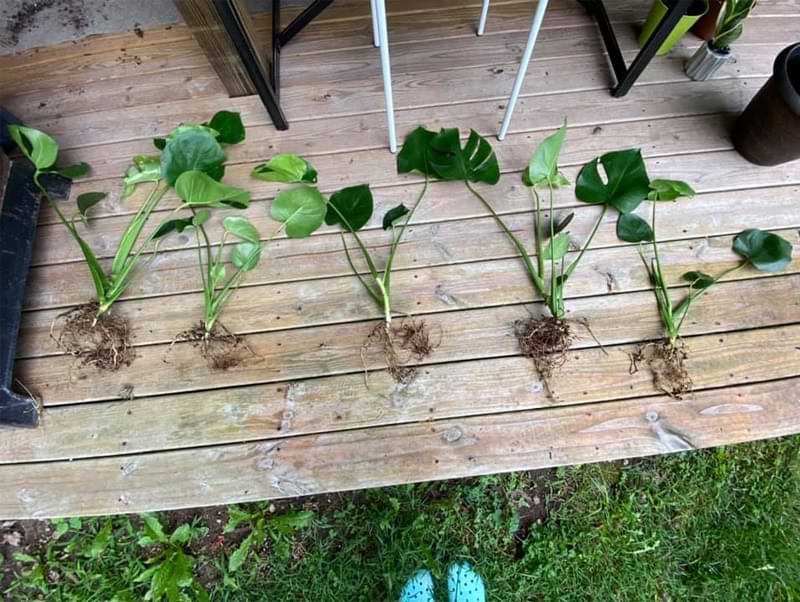
Propagating monsteras require some key tools. Each one serves a purpose in providing you with the best chance of a successful propagation.
Here are the tools you’ll need:

- Clean Shears or Knife
- Vase of Filtered Water
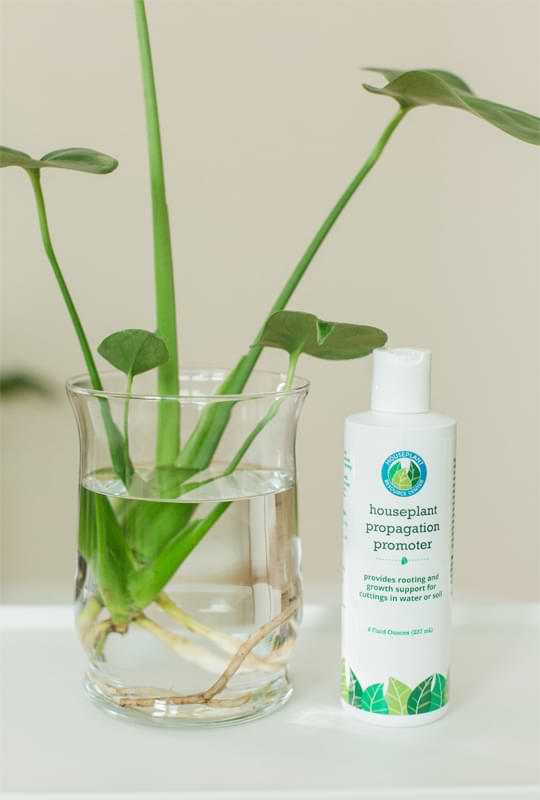
- Rooting Hormone
- New Pot and Soil
Once you have these tools, you are ready to begin the propagation process.
How to Choose Your Cutting for Propagation
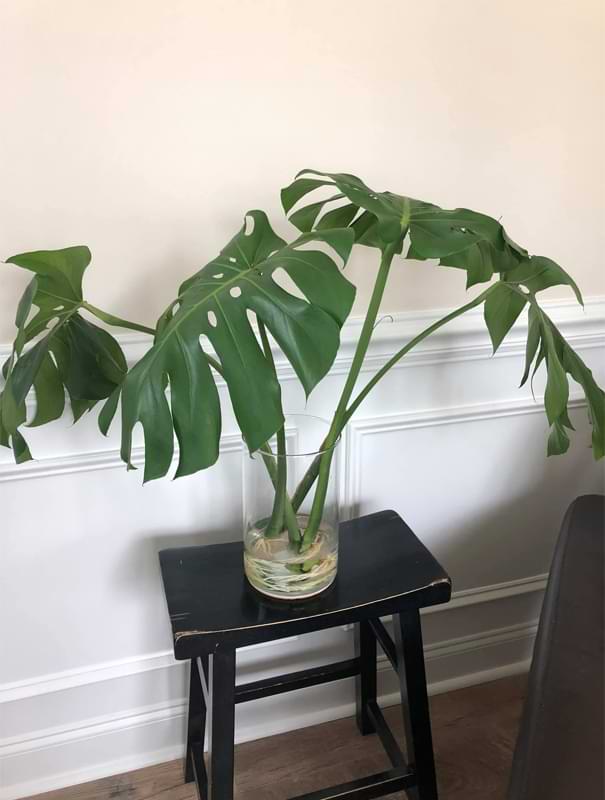
The first thing you will want to think of when you choose your cutting is, how do you want your plant to look? If you want your monstera plant to be a bit neater, long hanging shoots off the side are great contenders for a cutting.
Next, find a node on the shoot you have chosen. A node is a spot where a leaf is sprouting out of the stem.
Cut just above the node for your removal point from the main plant. Take the longer shoot you have just removed and make cuttings from it.
Each cutting needs to have a node on it. Remember to cut closer to the nodes. You do not want long internodes because it is a longer distance for water to travel through the stem. (The stem is like a straw)
How to Prepare Your Cutting for Propagation
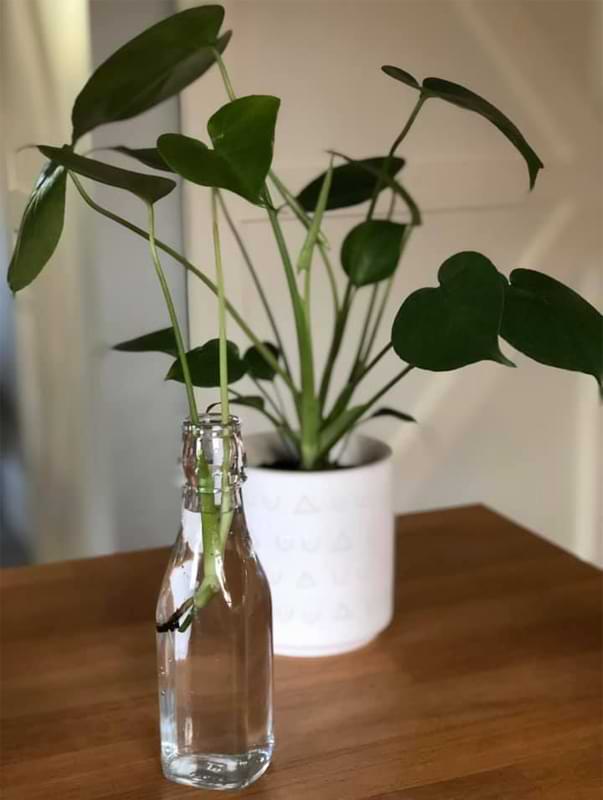
Once you have your cutting, you will dip the end of the cutting into a rooting hormone and add to a vase of clean, distilled water.
Consider using our Propagation Promoter and Rooting Hormone on your cutting. Simply add a few drops to your propagation container. The liquid is a dark brown so the water will discolor slightly. This is normal.
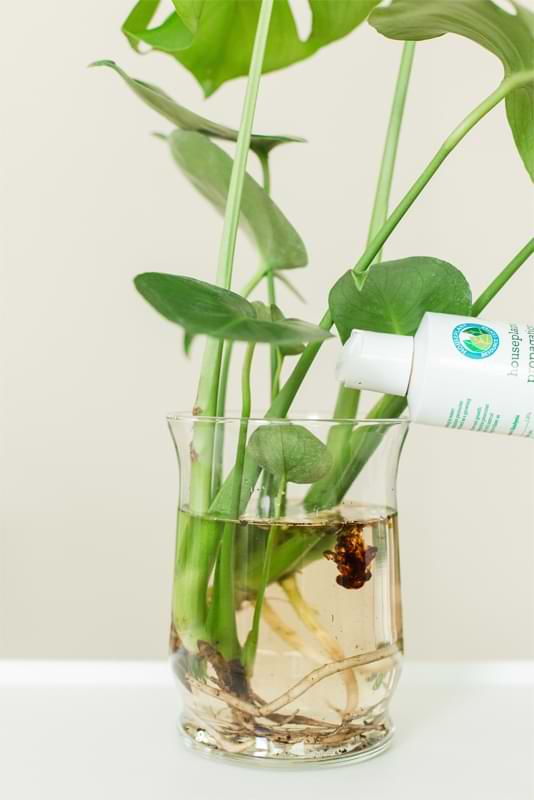
Our propagation promoter is comprised of multiple rooting hormones to signal the cuttings to put out new roots. Sea kelp extract helps support strong growth and photosynthesis. It also helps to protect your cuttings against bacteria and toxins that can cause new cuttings to fail.
If you have trouble keeping your cuttings upright in their container or medium, you should try these easy-to-use node holders! This handy propagation tool is a simple way to keep root cuttings healthy and in place while they take root, which gives those roots more room to grow without the added pressure of supporting the plant’s weight. This plant node support also helps your cuttings root faster!
How Long Does It Take for Roots to Grow?
Propagation is a practice in patience. You should begin seeing roots growing from your cuttings after 3-5 weeks. The main thing you want to look for is that the new roots are at least 1 inch long.
Once your cutting has many roots of that size, it is ready to be placed into a pot to continue growing.
When To Plant Your Propagated Cutting
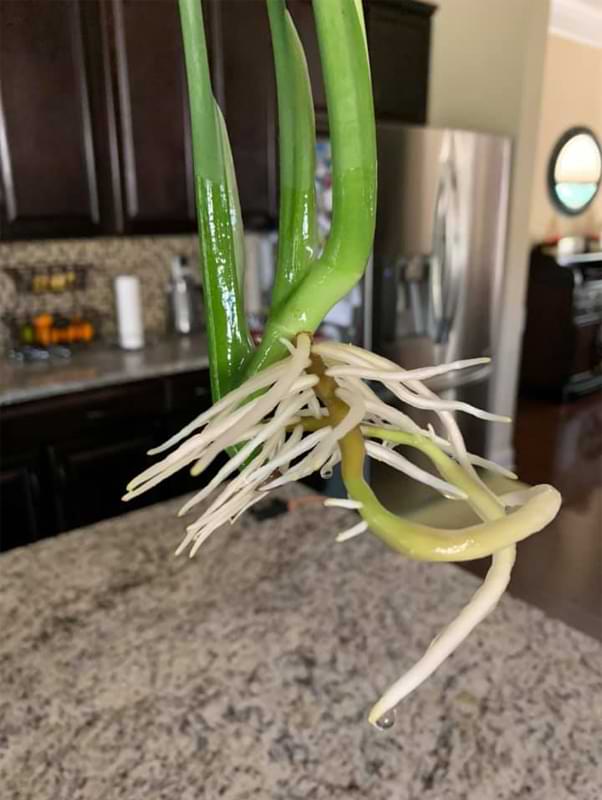
As you monitor your cutting, you want to change the water every few days or so. Place the vase in bright, indirect sunlight.
To plant your cutting, first make a hole in the center of the soil an spiral the root cuttings around one another so they are in a bunch, placing them into the center hole.
Add more rooting hormone to the soil and add more soil on the top of the planted cuttings and water thoroughly.
Watch the soil and keep it moist over the next few weeks. Your propagation attempt has now been successful!
Essentials:
- Make sure you’re giving your plants the right nutrients! Our Indoor Plant Food works perfectly for almost all indoor plants, and it’s easy to use. Grab it here!
- Use our premium well-draining potting soil for your houseplant.
- Protect your houseplant from insects, bacteria, and fungus with our Houseplant Leaf Armor. (As an added bonus, the Leaf Armor also cleans and adds shine to your houseplant’s leaves!)
- Use a moisture meter like this one to always know how thirsty your plant is.
- Click here to shop live plants!
To learn more:
- Join us for our free Top Secrets From Fiddle Leaf Fig Growers Webinar or enroll in our free Advanced Fiddle Leaf Fig Care Course.
- Read The Fiddle Leaf Fig Expert, your complete guide to growing healthy fiddle leaf fig plants. The book is available in full-color paperback or Kindle edition on Amazon now!
- Click to join our community on Facebook: Houseplant Resource Group.

