Repotting dracaena plants can be a daunting task. After all, you have to make sure it is done properly so that you don’t damage the roots or the crown of the plant. But fear not! With this step-by-step guide, repotting your Dracaena will be no problem at all.
We’ll go over everything from how to choose the right size pot for your plant to how much soil and fertilizer you should use. Plus, we’ll also provide tips on how to transplant your Dracaena without disturbing its roots too much. So grab your Dracaena and keep reading!
Table of Contents
When To Re-pot Dracaena
A Dracaena plant is happy in the same pot for quite some time, so it can be difficult to figure out when it does need to be repotted. Luckily, there are several signs you can look for to determine if it’s time to repot your Dracaena or not.
Signs Your Dracaena Needs Repotting
Tell-tale signs that it’s time to repot your Dracaena (and most other houseplants) include:
- Roots appearing out of the drainage holes in the bottom of the pot
- The plant is top-heavy and toppling over
- The leaves are droopy, and the plant seems rather unhappy even with regular, consistent watering
- When checking the soil, you notice the roots are beginning to get root-bound
If you see any of these signs, or a combination of them, it’s time to give your plant a new pot to live in!
Best Time to Repot
It’s best to repot your Dracaena in the spring, before new growth begins. This will give the plant time to adjust to its new pot and soil before it has to start producing new leaves. You can repot your plant any time of the year if you notice later in the year that it really needs to be repotted, but the plant will be happier if it gets a new, bigger pot right before it has to spend a bunch of energy growing in the spring and summer.
How To Repot A Dracaena
Even if you’ve never repotted a plant before, it’s actually really easy and not something you should stress too much over. First, simply gather some supplies, and then follow our step-by-step guide below. Before you know it, your plant will be in its new pot, and you and your plant will be stress-free.
Equipment Required
- Pot or Containers
- Choose a container that is 1-2″ larger than the one your plant is currently in. This will give the plant plenty of room to grow without giving it too much space, which some plants don’t like.
- Potting Mix
- Choose a high-quality potting mix that has plenty of good drainage. It’s recommended to use an indoor soil with a good mixture of drainage options like coco coir, perlite, and high-quality compost.
- Scissors, Knife, or Pruning Shears
- You’ll want a good, sharp set of pruning shears or scissors while you are repotting your Dracaena. This will come in handy when you are inspecting the roots, because you may need to trim off a bit of the roots if you see any rotted material or discoloration.
- A towel or plastic bag
- This isn’t required for repotting your plant, but it is helpful to catch any soil that falls from the plant during the process.
Once you have gathered all of your supplies, you are ready to begin repotting your Dracaena!
Re Potting Dracaena – A Step by Step Guide
Step 1: Prepare your work station
Before your start, lay out your towel or plastic bag if you want to use one, and grab all of your equipment listed above and your plant. Next, fill the new pot with about 1-2″ of the new potting soil, letting it settle at the bottom of the new pot.
Step 2: Gently remove the plant from the container
With your hand supporting the stem of the plant, turn the plant over, and gently release the plant and soil from the pot it’s in. This may take some time, so don’t rush it, and do not pull the plant out by the stem. Always try to loosen around the roots to get it to come out, not close to the stem.
After the plant is out of the container, clean away all of the current soil around the roots, and carefully inspect the roots for any damage. You’ll want to gently trim away any damaged roots with santized scissors or pruning shears.
Step 3: Place the plant in its new pot
Without crushing the roots, hold the plant inside the new pot, and gently backfill around the roots with the new potting soil. Work your way up to the top with the soil, and then pat the soil down to secure the roots and the plant. Give your plant a good watering, and give yourself a pat on the back! You just repotted your Dracaena!
Re Potting Large Plants
Large plants are a lot more difficult to repot than smaller ones, but only because of their size. If your Dracaena is on the larger side, you won’t be able to tip it upside down to get the plant out of its current pot, and you may need someone there to help you during the repotting process. Follow the same steps as above, working as best you can to accommodate the size of your plant.
Reducing The Risk of Transplant Shock
When you transplant a Dracaena, there is always the risk of transplant shock. This can happen when the roots are disturbed and the plant doesn’t have time to adjust to its new environment. There are a few things you can do to reduce the risk of transplant shock:
- Handle the roots carefully. Avoid damaging them as much as possible.
- Make sure the new pot is not too big or too small. The roots should have enough room to spread out, but not so much that they are cramped.
- Use a light potting mix that drains well. Dracaenas don’t like to sit in wet soil.
- Place the plant in a spot with bright, indirect light and good air circulation after repotting.
Caring for Dracaena After Re-potting
After repotting your Dracaena, you can continue caring for it regularly. The only change is that you may want to lessen the amount of fertilizer you use the next time you choose to use it. Follow this Dracaena care guide and your plant will continue to grow happily in its new pot.
Watering
The general rule of thumb is to water when the top layer of soil has dried out. However, there are a few things to keep in mind. First, let’s talk about watering frequency. If you live in a drier climate, you’ll likely need to water your Dracaena more often than someone who lives in a more humid climate. Secondly, the size of your pot will also affect how often you need to water. A larger pot will hold more moisture than a smaller pot, so it will need to be watered less often.
Now that we’ve covered frequency, let’s talk about how much water your Dracaena needs. Again, this will vary depending on the climate you live in and the size of your pot. But as a general rule of thumb, you should water your Dracaena until the water starts draining out of the bottom of the pot. Using a moisture meter will help you determine when to water your Dracaena, and how much water it likely needs.
Position and Light
When you’re repotting your Dracaena, it’s important to take into account both the position and light in your plant’s new home. Dracaenas are native to Africa, so they enjoy bright, indirect sunlight. If you can provide this for your plant, it will help it to thrive.
Choose a spot for your Dracaena that is out of the way of foot traffic. This plant doesn’t like to be disturbed, so a place where it can be left undisturbed is ideal. A south or north facing window would be an ideal spot for this plant, as long as it’s not too close!
Temperature and Humidity
Dracaena plants like to be kept between 65 and 85 degrees Fahrenheit, but can tolerate lower or higher temperatures for a short period of time. They would likely love to spend some early summer mornings outside if you’re able to move it, as the fresh air would be excellent for it.
Keep the humidity around 60-70%, and your Dracaena will be very happy. If your home is regularly more humid than this, you can use a fan to move some of the air in the plant’s vicinity. Vice versa, if your home is less humid than this, you’ll want to give your Dracaena’s immediate surroundings some extra humidity, either with a humidifier, regular misting, or even a humidity tray if your plant is small enough.
Fertilizing
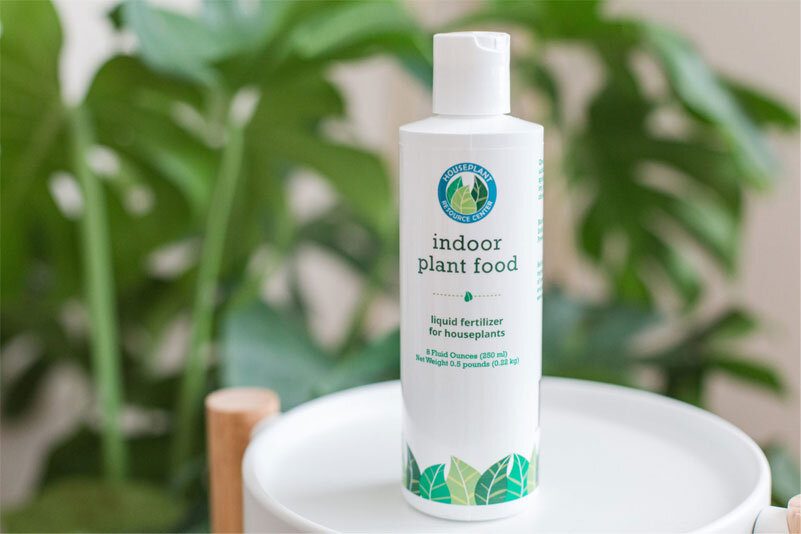
Fertilizing is an important part of taking care of your Dracaena. You should fertilize every 2-3 months during the growing season with a regular indoor houseplant fertilizer, and every 4-6 months during the winter. Alternatively, you can use an Indoor Plant Food, which gives your plant a smaller, more manageable dose of nutrients every time you water it. This method is highly recommended, as it keeps plants happier and significantly lowers the likelihood of your plant getting fertilizer burn.
FAQ Repotting Dracaena
How do I repot a Dracaena with root rot?
Repotting a Dracaena with root rot is the same as repotting a healthy plant. Just ensure that you inspect the roots very carefully, removing all rotted and mushy roots so your plant can breathe again. Be careful with your watering after repotting the plant, as it will take awhile to recover from this, and overwatering can make the problem worse.
Houseplant Resources
Looking for more houseplant info? We highly recommend our super informative (and FREE!) Houseplants for Beginners Webinar. Check out our community of other plant lovers in our Facebook group. And if you’re looking for handy go-to reference for all your houseplant needs, check out our Houseplants for Millennials book.

