Every Technique For How To Propagate An Arrowhead Plant
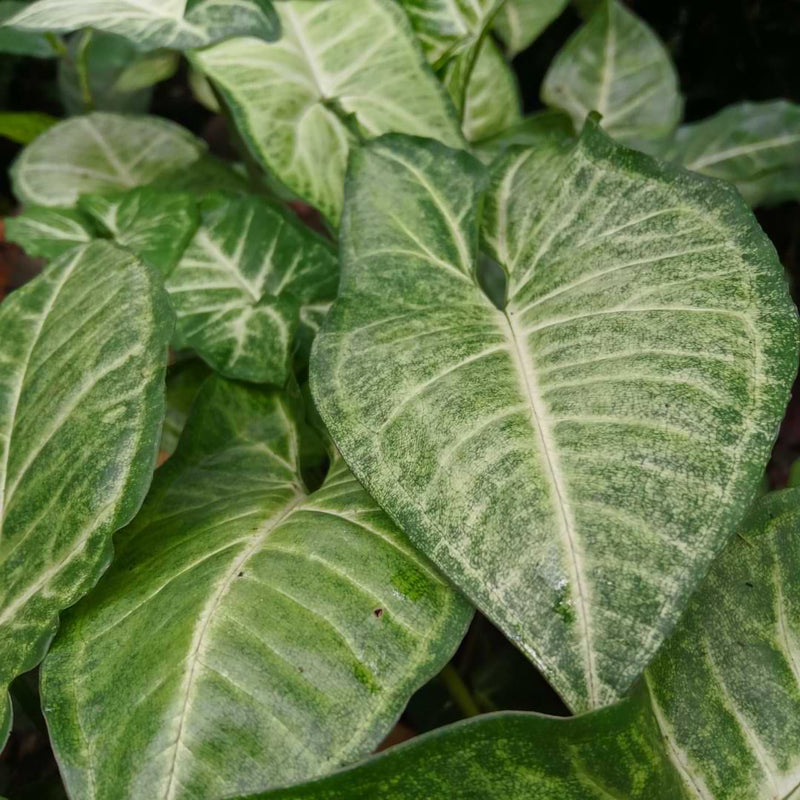
The 5-lobed leaf shape of the Arrowhead plant makes it an excellent choice for home growers who want to incorporate positive, balanced Chi into their indoor gardens. With its beautiful design and low-maintenance care requirements, many growers want to learn how to propagate an Arrowhead plant to expand their collection for enhanced beauty and aesthetic appeal.
Read on to learn about the best Arrowhead propagation techniques and our expert insights for plant care once the process is completed.
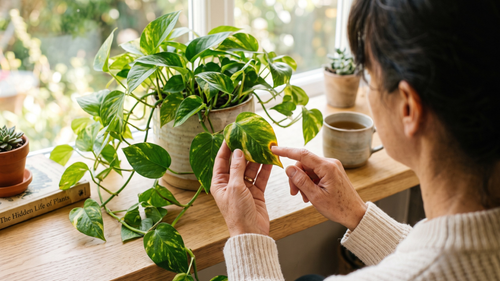
When you propagate an Arrowhead plant, you will need to begin with some tools. An Arrowhead plant is ready to propagate when it has developed a few stems, nodes, and leaves. You’ll need to cut several inches, so make sure the plant is large enough to support the process. Additionally, you should choose a plant that is in good health and free of diseases or pests.
Make sure your shears are clean and sharp before starting the propagation process to prevent any potential damage or infections to the plants.
Smaller containers or glass vessels are ideal for Arrowhead propagation. Look for containers with a narrow opening, as it will help stabilize the cutting and promote root growth.
A well-draining indoor potting soil mix is ideal for Arrowhead plant propagation. If you decide to propagate in water, avoid tap water, as it may contain chemicals and pollutants that can harm the plant.

Guarantee the success of your propagation process by using a propagation promoter and rooting hormone. These products are highly recommended as they help stimulate root growth, increase water absorption, and provide essential nutrients for the cuttings to thrive.
The vine-like stems of the Arrowhead plant are perfect for propagation – assuming you make the right cuts. To select the best stem to propagate, look for a strong, mature vine that has the following:
When you’ve found the perfect stem(s), cut it just below a node using clean and sharp pruning shears. The cut should be at a 45-degree angle to maximize the surface area and facilitate better nutrient absorption.
Because the plant grows better when compact, you can take more than one stem from a mother Arrowhead, but no more than three or four at a time so that it does not put too much strain on the plant.
Pro Tip: Dip the bottom end of the cutting in a root hormone or propagation promoter to encourage faster root growth and overall propagation success.
It is a good idea to prep your pots before beginning the propagation process so that you don’t leave the cutting exposed to air for too long. Sanitize the inside of the pot with a weak water and bleach solution of 1:20. Be sure it is completely dry before putting anything in it.
Once your sanitized pot is ready to go, place a small amount of potting mix into it, approximately half full, then give it a spritz of water so that it’s slightly moist.
Place the cutting into the pot, low enough that the soil touches the first node. Cover lightly with more potting mix, then spray it gently to moisten.
If, after planting, you have lower leaves touching the soil, you can feel free to cut them off, as these will often die off during the propagation process.
Once the cutting is comfortable in its new home, place the pot in a warm, well-lit spot and keep the soil slightly moist using a watering can or spray bottle.
Check the cuttings daily, looking for any change in the plant’s health. A healthy propagation process will show new leaf growth within 4 to 6 weeks. If you notice that the leaves are yellowing or wilting, it is a sign that the cutting is not getting enough water and may need to be misted more often. Be careful not to overwater, as soggy soil can cause rot and lead to the cutting’s demise.
Healthy root growth in soil can be a little more challenging to monitor, but the signs that your plant is ready to be potted are relatively easy to spot. Most commonly, the growth of new leaves at the nodes or the appearance of new roots through the drain holes at the bottom of your pot are good signs that it is ready for transplanting.
To repot rooted cuttings:
You’ll know your plant isn’t happy and needs repotting when you see the roots coming out of the drainage holes or the plant becomes top-heavy and starts to lean.
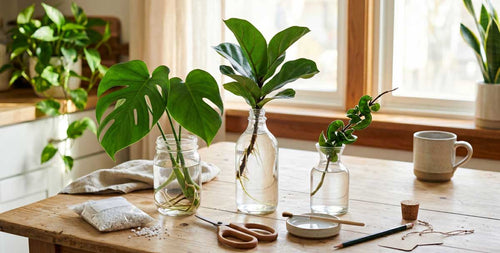
Like soil propagation, you will want to start with a clean, sanitized container. Additionally, the container should be transparent to allow light to enter and support the growth of the roots.
Planting
Once you have taken your cutting, place it in the container and fill it two thirds to halfway with room temperature, filtered water. It is essential not to submerge the leaves in the water as this can lead to rot. Once inside the vessel, place it in a bright, warm location.
Fortunately, water propagation is fast, so you can expect to see roots forming sooner than with soil propagation. Healthy root growth takes 2 to 3 weeks with barely any maintenance outside of regular water changes whenever it looks cloudy or murky.
Once the roots have grown a couple of inches, it is time to transfer your plant using the same process for soil-propagated cuttings.
Some growers leave the plant in water longer than the suggested 2-3 weeks. This is okay, but make sure not to let the roots get too long, as they can start to show signs of stress and may have a harder time adapting to the soil once they are finally potted.

Because Arrowhead plants don’t like to be root-bound, you may find that your plant has outgrown its pot and is starting to show signs of distress. In this case, root division may be necessary to keep the plant healthy and thriving while getting a few extra plants out of the process. To divide your Arrowhead plant:
of the plant
Be sure to cut away any damaged or rotting roots before propagating using root division to avoid transferring any issues to the new plants. Additionally, keep in mind that root division can be a stressful process for older plants with tangled root systems, so be cautious and gentle when separating the sections.
Pro Tip: Use a root supplement to help promote new growth and minimize stress during the root division process.
Light is vital to a successful propagation process as it helps stimulate growth and development. For Arrowhead plants, bright indirect light is ideal, so place your cuttings or newly potted plants in a spot with enough light but not direct sunlight.
These hardy houseplants can also grow well in medium light, but they may not grow as quickly or have as vibrant of colors. Avoid placing them in low-light areas, which can lead to leggy growth and a weakened plant.
Native to the tropical regions of Central and South America, Arrowhead plants thrive in warm, humid environments. For successful propagation and growth, keep the temperature between 65-75 degrees Fahrenheit (18-24 degrees Celsius) and humidity levels between 40% to 60%.
If you are in a cold, dry climate, you can increase humidity levels by placing your plants on a tray filled with pebbles and water, using a humidifier, or lightly misting them several times a week. In online houseplant enthusiast communities, many growers have found controlling humidity better when placing a bag or plastic tent over the plant while propagating it.
Well-draining soil is ideal for the Arrowhead, but there’s more to it than just that. This plant thrives in a mix of peat moss, pine bark, and perlite or vermiculite. Additionally, indoor potting soil formulas incorporating green waste, phosphorus, nitrogen, potassium, and other micronutrients will help promote healthy growth and development.
A watering routine once every 10 to 14 days should be sufficient for your Arrowhead plant, providing enough moisture to keep the soil hydrated without causing root rot. Sometimes, this watering routine may need to be adjusted when the weather is particularly hot and dry.
You should also pour your watering can slowly over the top of the plant, as pouring too quickly can wash away any nutrients in the top layers of soil. You can continue pouring until water starts to drain through the bottom of the pot.
No propagation process is foolproof, and you may encounter one or more of the following challenges during or after the process:
Pro Tip: Order a houseplant care bundle for all the items needed to keep your newly propagated Arrowhead plant healthy and thriving, including fertilizer, root supplement, and leaf armor.
The best time to propagate an Arrowhead plant is during the spring and summer months when it is in its active growth phase. This will give your cuttings or divided sections the best chance of taking root and thriving.
Yes, distilled water is an excellent option for propagating plants as it usually doesn’t contain any harmful chemicals or mineral deposits that can affect plant growth. But you may need to add a propagation promoter, root supplement, or plant food to ensure cuttings have the necessary nutrients to grow.
Cuttings are much easier to perform and less stressful for the plant than root division. However, root division can be a great way to get more plants out of one, especially if your Arrowhead is large and starting
When you learn how to propagate an arrowhead plant you not only adds more greenery to your home but it also brings positive energy and vitality. By following these tips and techniques, you can successfully propagate this beautiful and versatile houseplant, creating a balanced and harmonious atmosphere in your living space.
Need more tips for propagating and caring for your houseplants? Sign up for our newsletter and never miss out on an opportunity to transform your home with healthy, happy, and thriving plants.
Looking for more houseplant info? We highly recommend our super informative (and FREE!) Houseplants for Beginners Webinar. Check out our community of other plant lovers in our Facebook group. And if you’re looking for handy go-to reference for all your houseplant needs, check out our The Last Houseplant Book You Will Ever Need book.


We are an Amazon Certified Small Business! Small businesses are the backbone of the US economy; they create jobs and drive innovation. We appreciate YOU helping small businesses on Amazon!